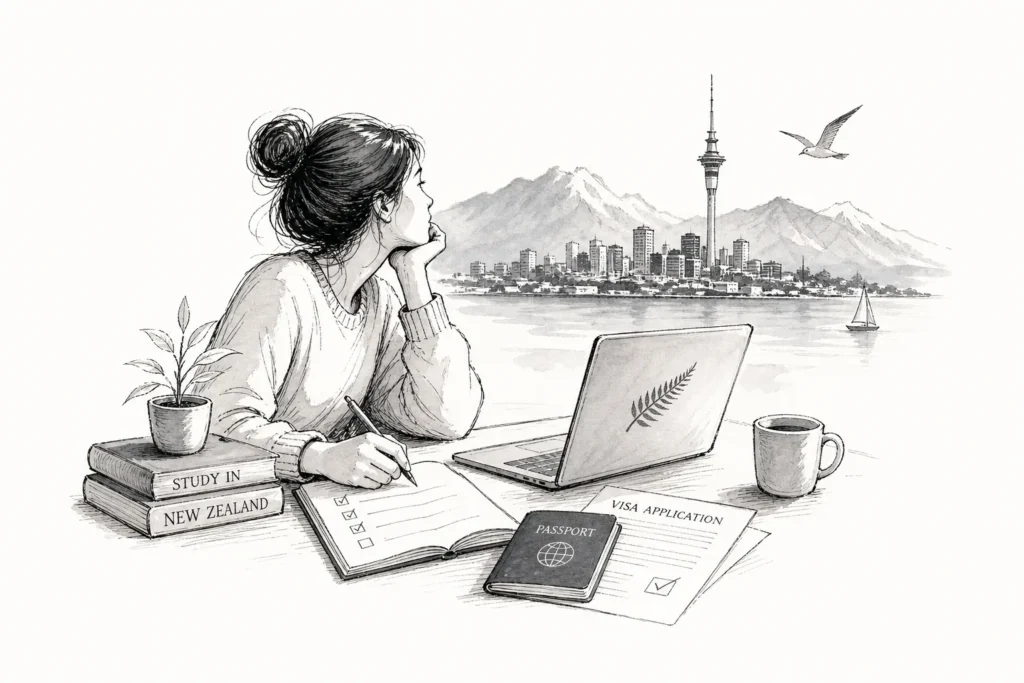
New Zealand Student Visa Documents: Bangladesh Checklist
If you are wondering what documents are needed for a New Zealand student visa from Bangladesh, the short answer is: more than most applicants expect, and with more specificity than most people prepare for. INZ refusals from Bangladesh are rarely caused by ineligibility. Far more often, they result from documents that are incomplete, inconsistent, or simply wrong for what Immigration New Zealand (INZ) actually expects. In our experience at Meiji Education, reviewing visa files for Bangladeshi students, a clear pattern emerges: the student qualified, the institution was approved, but the application fell apart at the documentation stage.
This article gives you a complete, purpose-explained checklist of the documents required for a New Zealand student visa from Bangladesh under INZ’s current 2026 requirements. Every item on this list is here because INZ uses it to make a decision. Skipping or mishandling any one of them carries real consequences for your application.
What documents are needed for a New Zealand student visa from Bangladesh: core identity and enrolment
Three documents form the backbone of every NZ student visa application, and without them, nothing else in your file matters. These cover your identity, your enrolment, and your English proficiency.
Your passport and recent photographs
Your passport must be valid for the entire duration of your study programme in New Zealand, with sufficient blank pages remaining for visa stamps. Check the current INZ guidance on passport validity before you apply, and do not leave this until the last minute, especially if your passport is due to expire within the next two years. The photograph you submit must be an original, taken within the last six months, in line with INZ’s paper application requirements. A certified copy of your passport is acceptable for supporting documents in your file, but verify with INZ’s current application checklist whether your original passport is required at submission or at the travel stage.
Offer of place: what your acceptance letter must actually say
An acceptance letter alone is not enough. INZ sets a specific standard for what the offer of place must contain, and a letter missing any of these elements can cause immediate problems. The letter must include the provider’s name, address, phone number, and email; your full name exactly as it appears in your passport; your date of birth; the course name; the length of study; the start date; scheduled vacation periods if the programme runs for one academic year or more; whether study is full-time or part-time; the fee type; the total fee for the full programme; and the amount already paid.
Critically, the letter must also include a provider suitability statement confirming that the institution has assessed you and is satisfied that you have the English proficiency and academic capability to succeed in the programme. This element is the one most commonly absent from letters issued to Bangladeshi applicants. If anything is missing, contact your institution for a corrected letter before you apply.
IELTS or PTE Academic results
INZ does not set a universal English score requirement directly, but your institution’s acceptance confirms you have met its language threshold. Entry requirements vary by university and programme, many universities commonly require around IELTS 6.0, 6.5 for undergraduate entry, but you should check your specific provider’s published requirements and confirm the equivalent PTE Academic score if applicable. The offer of place itself signals to INZ that the language requirement was satisfied. At Meiji Education, students who need to improve their band score before applying can access IELTS and PTE preparation support alongside their application planning, so language preparation and visa preparation run in parallel rather than sequentially.
Financial proof INZ expects from Bangladeshi applicants
This is where most Bangladeshi applications run into difficulty. Vague or unverifiable financial evidence is a leading rejection trigger, and INZ is not simply looking for a large number in a bank account.
How much money you need to show, and in what form
The current INZ benchmark is NZ$20,000 per year for living costs for tertiary and English-language study. For courses shorter than one year, the figure is NZ$1,667 per month. This amount is separate from tuition fees, which you should have already paid or shown proof of paying. INZ wants to see that the money is genuinely available, accessible, and from a legitimate source. A large sum deposited into an account in the days before the bank statement period is a red flag, not reassurance, and INZ’s student funds guidance specifically highlights credibility concerns where sudden spikes in balances are not supported by prior savings history.
Financial documents required for a New Zealand student visa from Bangladesh
INZ accepts several types of financial evidence. The most common for Bangladeshi applicants are:
- Bank statements for the previous three months showing consistent funds in the student’s or sponsor’s name
- Fixed deposit receipts showing savings that are accessible and attributable to a genuine source
- An education loan sanction letter from a recognised bank, showing the approved amount and terms
- An official scholarship award letter if a full or partial scholarship is in place
For each document, INZ is checking two things: the balance amount, and whether the funds are genuinely accessible and from a credible source. INZ’s guidance on primary and secondary evidence makes clear that statements showing a sudden spike in funds without prior savings history raise credibility concerns that can outweigh the balance itself.
Sponsor and guarantor documents: INZ Form 1014 and 1025
When a parent or family member is funding the student, INZ requires specific official forms alongside the sponsor’s financial evidence. The Financial Undertaking for a Student (INZ 1014) must be completed by the guarantor. Where applicable, the Sponsorship for Temporary Entry (INZ 1025) is also required. A simple affidavit on its own is not sufficient. The INZ forms must be accompanied by the sponsor’s own bank statements and income proof, such as salary certificates or business income evidence. In our experience reviewing Bangladeshi applications, this combination requirement is one of the most frequently missed steps.
Health and character documents for Bangladeshi applicants
Medical and police clearance requirements are often either overlooked or handled incorrectly. Bangladesh-specific rules apply here, and errors in this section delay everything else.
When you need a chest X-ray
If your course is six months or longer and you are from a country not classified as low TB-incidence, a chest X-ray is required under INZ’s health requirements. Bangladesh falls into this category, which means the vast majority of Bangladeshi students applying for a full qualification in New Zealand will need one. The X-ray must be done at an INZ-approved panel clinic. In Dhaka, approved panel clinics for INZ medicals include IOM Migration Health Assessment Clinic (Gulshan-1), Mercury Medical in Gulshan 2, and Green Crescent Health Services in Baridhara. Results are submitted directly to INZ through the clinic’s eMedical system. A general medical examination is not ordinarily required for student visa applicants unless INZ specifically requests one.
Police clearance certificate from Bangladesh: who needs it and how to get it
A Bangladesh police clearance certificate is required if your total intended stay in New Zealand is 24 months or longer. The certificate must be no more than six months old at the time of submission. To obtain it, apply through the Bangladesh Police online PCC portal. You will need an application addressed to the Superintendent of Police, a passport copy attested by a first-class gazetted officer, and a treasury chalan of Tk 500. If your certificate is issued in Bengali, a certified English translation must accompany the original. A receipt confirming you applied is not accepted by INZ, you must submit the actual certificate. Build this into your timeline early, as police verification takes time.
Supporting documents that complete your application
These documents are not always listed prominently, but for Bangladeshi applicants they carry significant weight in demonstrating genuine intent.
The Genuine Student (GS) statement
INZ requires a written statement from every student applicant demonstrating genuine intent to study and to return to Bangladesh after completing the programme. This document should explain why you chose New Zealand, why you selected this specific institution and course, and how the qualification connects to your career plans back home. A poorly written or vague statement is one of the most common avoidable causes of refusal. The recommended length is 500 to 800 words, focused and specific rather than general. At Meiji Education, counsellors work directly with students to prepare GS statements that are honest, precise, and structured around INZ’s genuine student criteria.
Academic transcripts and previous qualification certificates
All previous academic results must be included: SSC transcripts and certificate, HSC transcripts and certificate, and bachelor’s degree transcripts and completion certificate if applicable. Unofficial transcripts are not sufficient. Each document must carry the institution’s official seal or be attested by the issuing authority. If any documents are not in English, certified translations are required alongside the originals.
Evidence of return or onward travel
INZ requires evidence that you intend to leave New Zealand at the end of your programme. For Bangladeshi applicants, this is a meaningful part of demonstrating non-immigrant intent. According to INZ’s checklist, acceptable evidence includes a return ticket booking confirmation or documented proof of funds for onward travel. Do not omit this document, it is part of how INZ assesses whether your application reflects a genuine temporary stay.
Document mistakes that get NZ student visa applications refused
Gathering documents is only the first step. The errors that cause refusals usually appear after the documents have been collected.
Mismatched names and details across documents
If your name on the offer of place, bank documents, or academic certificates differs even slightly from your passport name, INZ will query or refuse the application. This is a frequent issue when students use initials, nicknames, or different name orders across documents. Every document in your file must reflect your name exactly as it appears in your passport, without exception.
Expired or soon-to-expire documents
Police clearance certificates older than six months at submission, chest X-ray reports past their validity period, or a passport expiring before your programme ends are all grounds for refusal or delay. Build a document validity calendar before you submit. Check the expiry date on every document against your intended submission date, not your intended travel date.
Weak or unverifiable financial evidence
A large lump-sum deposit appearing just before the bank statement period is a consistent red flag for INZ. Statements should show a savings pattern consistent with the claimed financial capacity over time. Sponsor documents submitted without the correct INZ forms and the sponsor’s own financial proof are routinely insufficient. INZ needs to see the full picture, not just a balance figure.
What to confirm before you submit your application
Most applicants assume that having all the documents is enough. The difference between a strong application and a refused one is often not what was gathered, but how carefully everything was checked before submission.
Why document verification matters more than document collection
Each document in your visa file must be checked against INZ’s current requirements, cross-referenced with every other document for consistency, and confirmed to be within its validity period. A single overlooked detail can trigger a refusal that delays your plans by months. A missing INZ form, an untranslated certificate, or an offer letter that lacks the provider’s suitability statement are all examples of errors that are invisible to the applicant but immediately apparent to an INZ officer.
How Meiji Education helps Bangladeshi students prepare a complete NZ visa file
At Meiji Education, every application goes through a structured document review before submission. The team verifies that the offer of place meets INZ’s detailed content requirements, checks that financial documents are in the correct format and reflect a genuine source of funds, and ensures the GS statement accurately reflects the student’s situation and study goals. Students also receive IELTS and PTE preparation support under the same roof, so language scores are confirmed well before the application stage. For Bangladeshi students who want to apply with confidence, a professional document review is one of the most effective steps you can take to reduce the risk of refusal.
Before you submit: final checklist review
The five document categories covered here, identity documents, the offer of place, financial proof, health and character certificates, and supporting materials such as the GS statement and academic transcripts, are not just boxes to tick. Together, they tell INZ a complete story about who you are, why you want to study in New Zealand, and why you will return home afterwards. Weak or inconsistent documents break that story, and INZ officers are experienced at noticing where the pieces do not fit.
Before you submit, double-check what documents are needed for your New Zealand student visa from Bangladesh, every item, every validity date, every form number. If you are unsure about anything in your application file, get it reviewed by an expert before you submit. The cost of a refusal in terms of time, fees, and disruption to your plans is far greater than the cost of getting it right the first time. Meiji Education offers exactly this kind of support to Bangladeshi students: a structured, expert review to make sure every document in your file is correct, complete, and ready to go.
New Zealand Student Visa Documents: Bangladesh Checklist Read More »